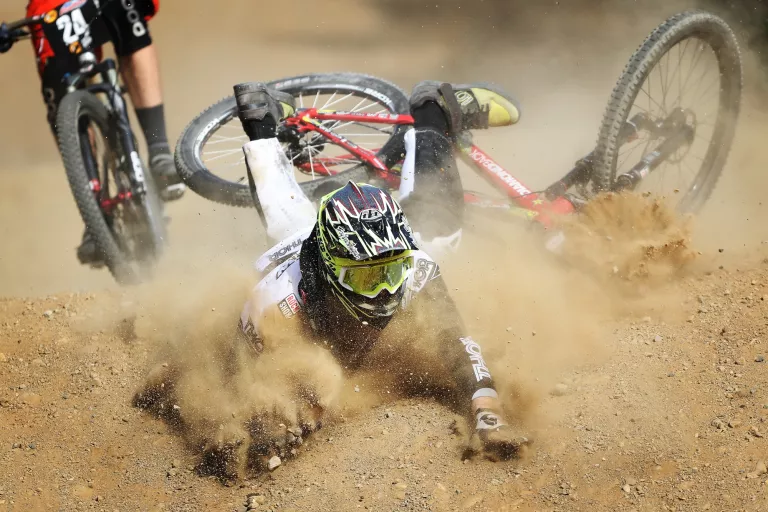
Falling is every cyclist’s worst fear on a long ride. A simple accident can lead to serious injury, which is why wearing a helmet and protective gear is non-negotiable. Following traffic rules is equally important.
That said, not all crashes are unavoidable. By mastering proper braking techniques and knowing how to react during a fall, you can significantly reduce your risk.
1. Effective Braking Techniques
On flat roads or climbs, riding speed is usually moderate, especially when carrying luggage. Staying alert and obeying traffic rules minimizes risk in these conditions.
Most accidents occur during descents, particularly on winding mountain roads with continuous steep sections. For downhill braking, the best approach is to use both brakes together.
Some riders avoid the front brake, fearing it may cause a forward flip. However, the rear brake alone offers limited stopping power and can cause skidding if locked. While the front brake provides the strongest stopping force theoretically, using it skillfully is key. Combine both brakes for safe and efficient deceleration.
On smooth surfaces, apply the front brake first. On rough or bumpy terrain, where the bike may bounce, use the rear brake first to prevent the front wheel from locking or lifting. Before a steep descent, lower your saddle slightly. This helps shift your weight backward, improving stability.
Avoid dragging the brakes continuously, as this can lock the wheels. Instead, use a technique called “feathering”: rapidly squeeze and release the brake levers in short pulses, completing each cycle within about a second. This shortens braking distance and prevents wheel lock-up.
2. How to React in a Crash
To minimize injury, curl your body into a ball upon impact. Do not try to break your fall with your hands. Your wrists, elbows, and collarbones are highly vulnerable and slow to heal.
Before your trip, practice tumbling on a soft surface like grass. Jog slowly, then roll sideways or forward, making contact with a shoulder or tucked arms. Rehearsing these moves builds muscle memory, helping you react instinctively in a real fall.
3. Wet Weather Braking
Rain makes roads slick, increasing braking distance. Brake earlier and descend more slowly. On wet surfaces, start with the rear brake to avoid front-wheel skids. Use the front brake only if urgently needed.
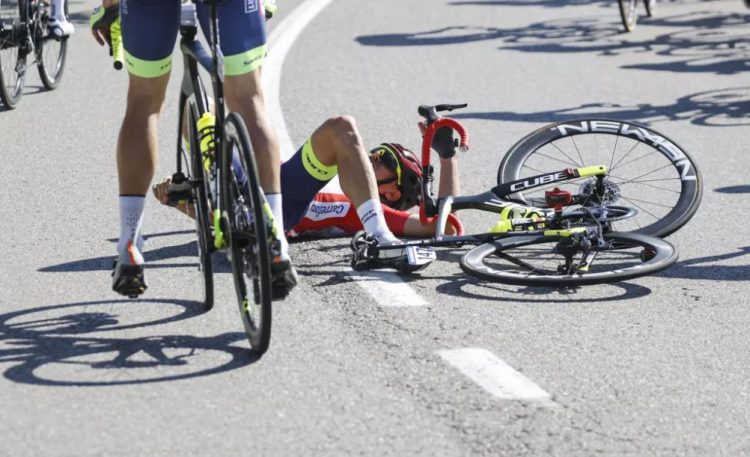
4. Separate from the Bike & Roll to Safety
If you lose control on a fast descent and can’t brake safely, try to slow down as much as possible and separate from the bike. This avoids collisions with obstacles like cliffs.
To dismount safely at speed, brake firmly without fully locking the wheels. Release one foot from the pedal, shift your weight back, release the handlebar at the right moment, and push away with the foot still clipped in. Tuck and roll upon landing, avoiding contact with the bike.
5. Controlled Slide: Stay with the Bike
If you’re heading toward a cliff or large obstacle and can’t steer clear, lock the rear brake and turn the handlebars toward the inside of the curve. This induces a controlled slide.
Keep the inside foot down to drag along the ground and stabilize yourself. This advanced move resembles a dirt-bike drift and requires practice.
6. Use Momentum to Your Advantage
If you’re going too fast into a curve and risk going over a cliff, push the bike away from you—outward. A loaded touring bike is heavy, and the pushback force can help redirect you toward safety.
If you’re about to hit a roadside obstacle, swerve sharply toward it. Momentum will tend to throw your body in the opposite direction. Let go of the bars to separate from the bike.
7. Basic First Aid After a Fall
Even if you feel fine immediately after a fall, stay put for a few minutes and check for injuries before continuing. For minor wounds, use your first-aid kit. Serious injuries like fractures require immediate medical attention.
Cuts & Scrapes: Rinse with clean water, pat dry with sterile gauze, and disinfect with hydrogen peroxide or a similar antiseptic. For heavy bleeding, disinfect and cover with an adhesive bandage. Avoid iodine or colored antiseptics if using specialized止血 (blood-stopping) agents.
Bruises & Sprains: Gently massage the area with analgesic liniment to reduce swelling and pain. Do not apply liniment to open wounds—treat cuts first.
Suspected Fractures: Signs include deformity, grating sounds, or abnormal movement. Stop bleeding and disinfect any wounds first. Immobilize the limb using a splint (a similar-length piece of wood padded with soft cloth). Secure above and below the fracture, then fix the adjacent joints. Seek hospital care immediately.
Mastering these braking, crash-response, and basic first-aid skills will help keep you safe and confident on the road.

